Alternative Brands NZ
.webp)
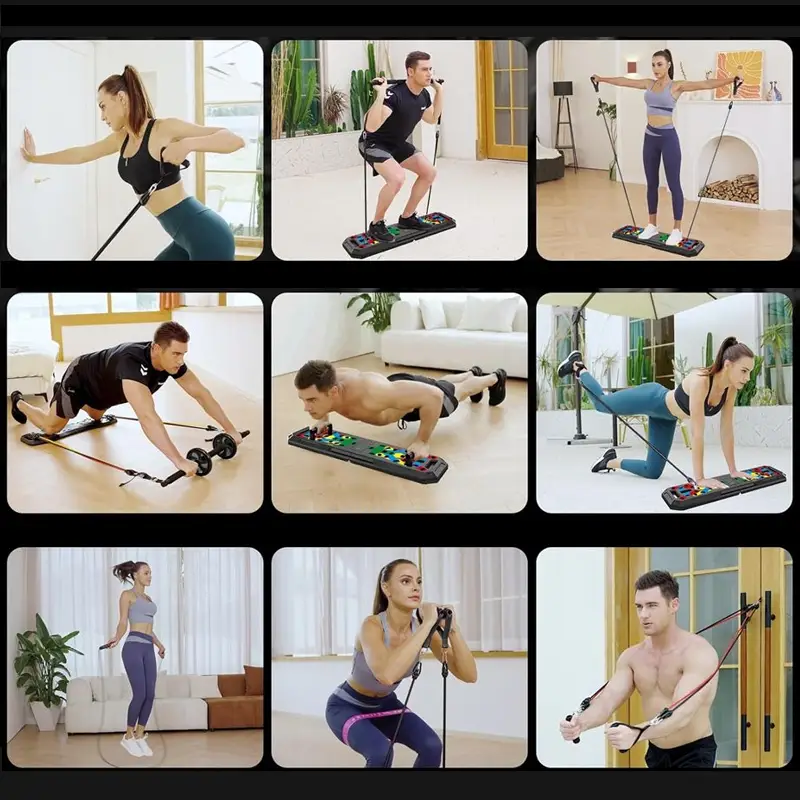
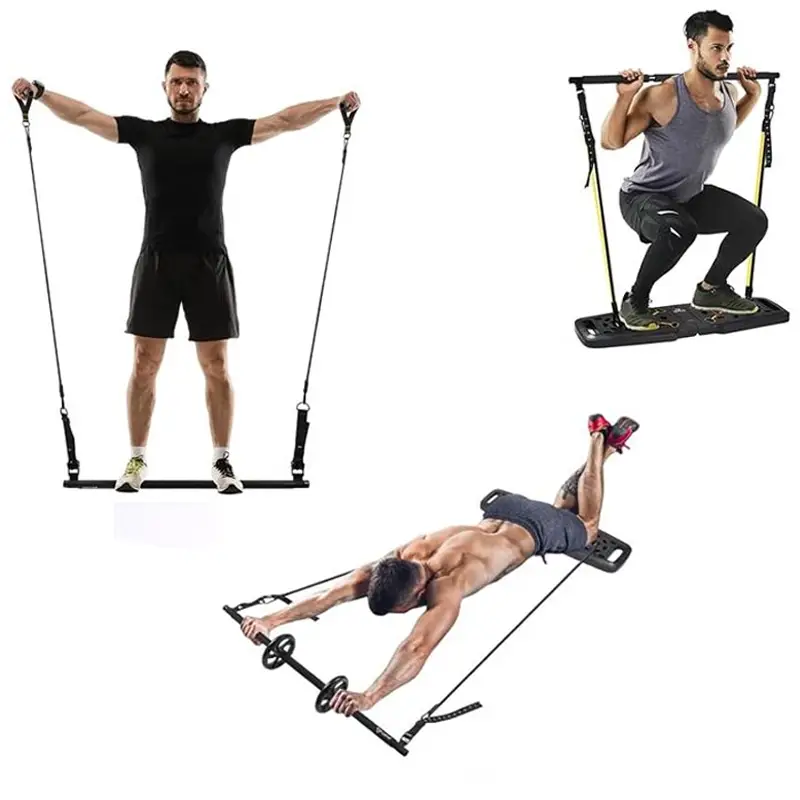
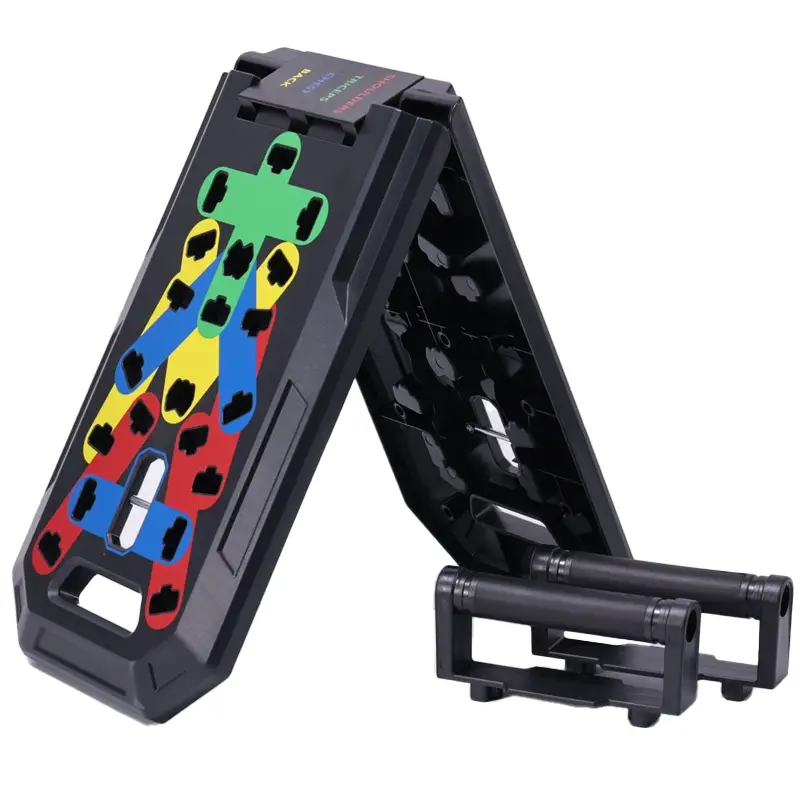
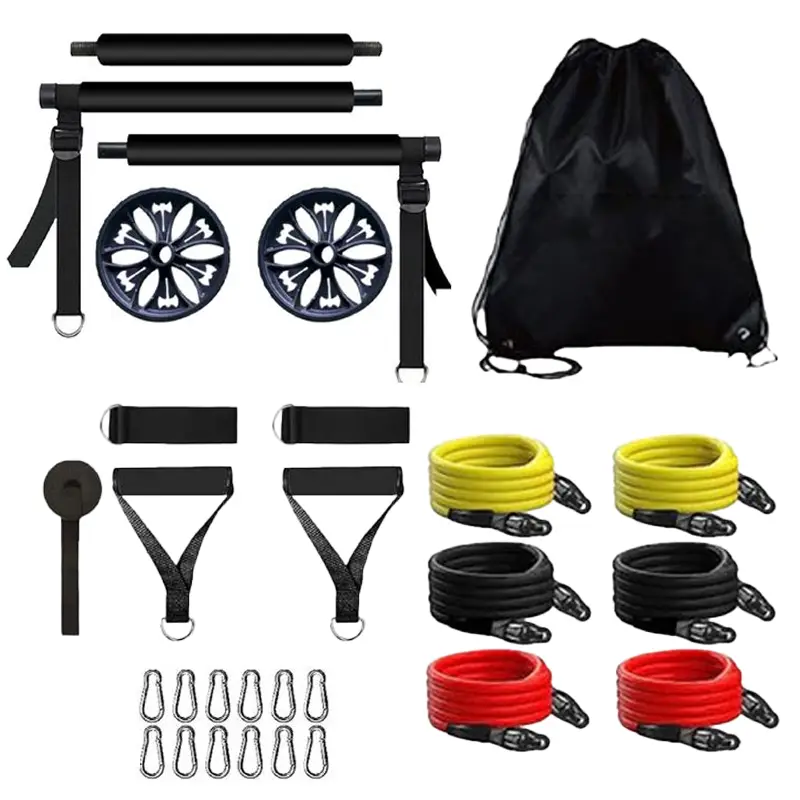

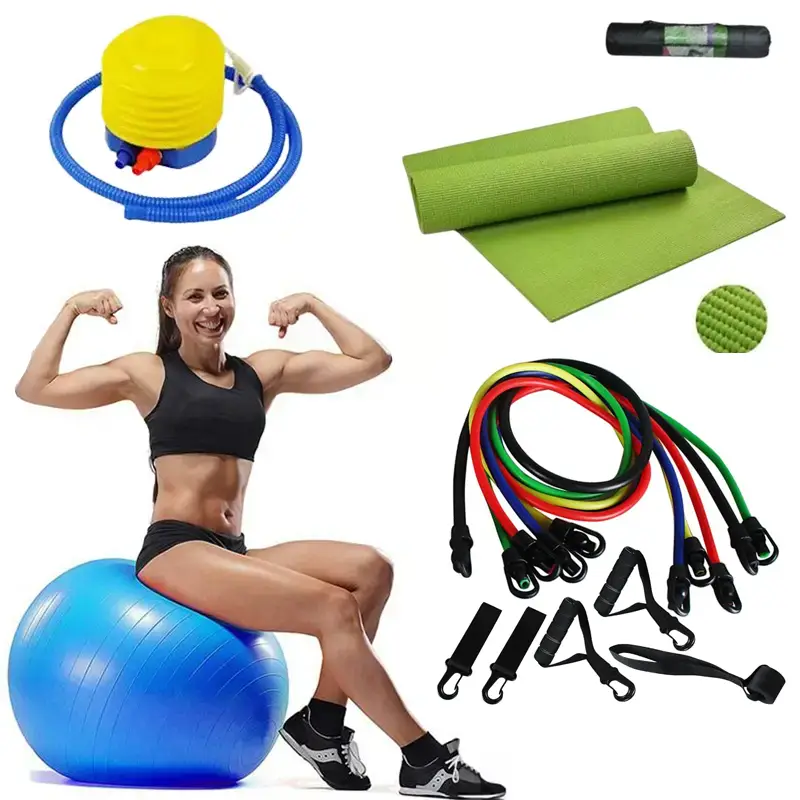
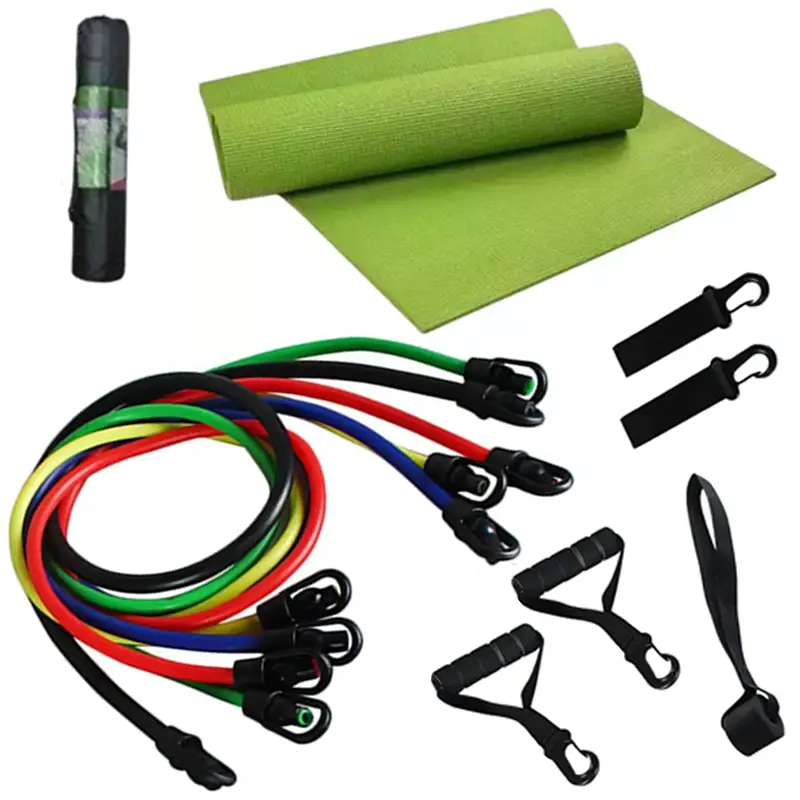
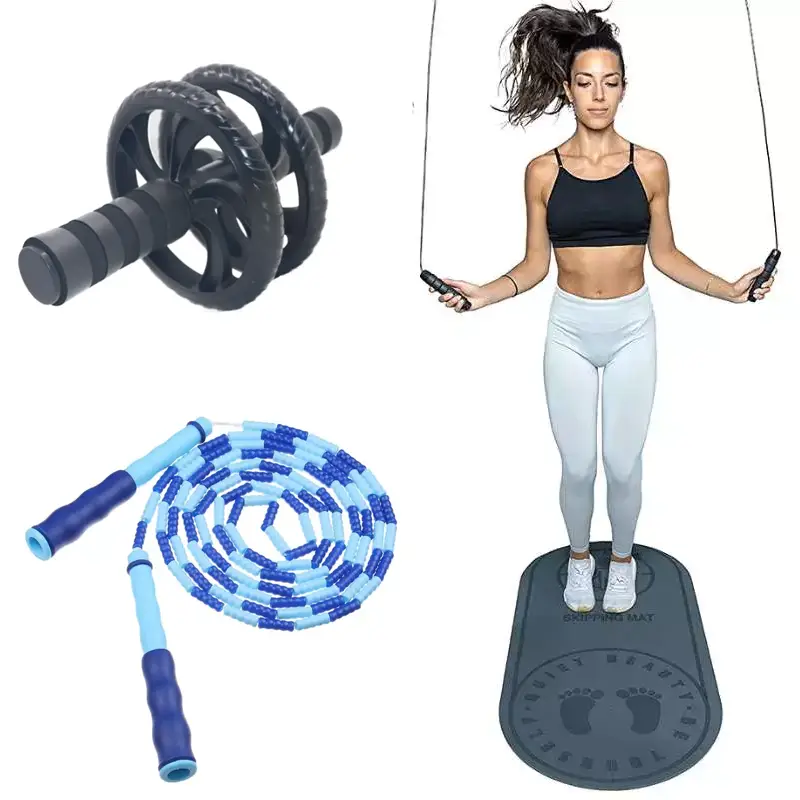
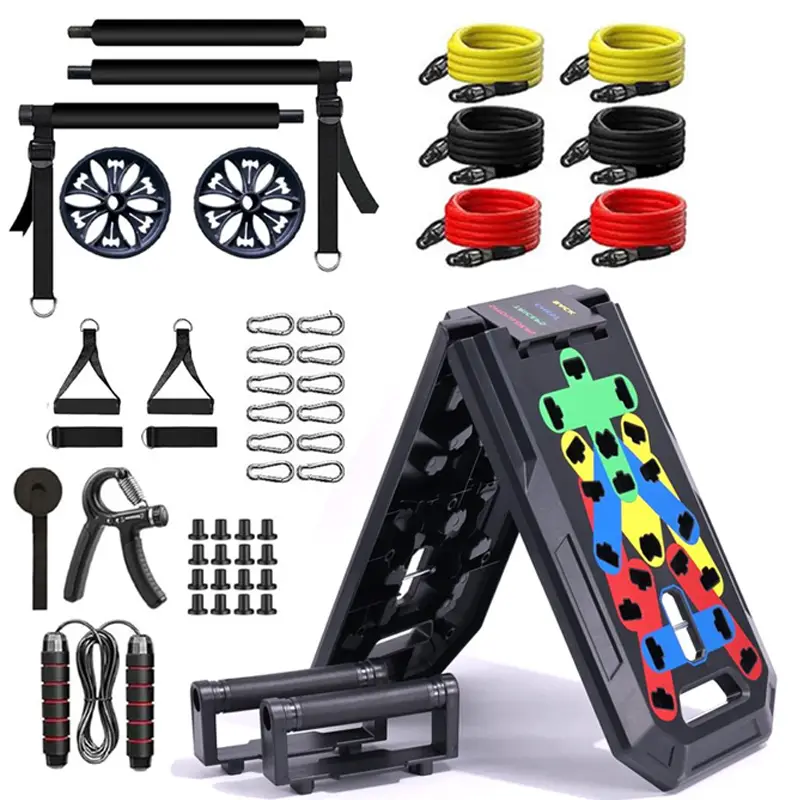
Elevate your fitness routine with the Flexiboard Total Fitness Kit aversatile Push Up Board Home Gym Kit. Designed for convenience, it allows effective training without the need for a gym. This all-in-one system combines multiple fitness tools into a compact, portable setup. Whether you're sculpting abs, strengthening your chest, or boosting endurance, this kit offers everything you need to stay active and achieve your fitness goals.
This push up board home gym kit is perfect for those seeking a versatile and compact solution for home workouts. With targeted exercises and high-quality materials, it helps you achieve your fitness goals while saving time and space. Upgrade your training today!
The push-up board is a versatile tool that allows you to target specific muscle groups effectively. This guide will walk you through a structured program, including detailed instructions and techniques for each exercise, to help you build strength and endurance.
Guidance on Reps and Sets: Start with 2–3 sets of 8–12 push-ups for each exercise. If you're a beginner, aim for fewer reps while focusing on maintaining proper form. Rest for 60–90 seconds between sets to allow recovery. As you progress through the weeks, gradually increase your reps by 2–3 per set when the current number becomes manageable. For advanced users, consider adding an extra set to each workout or slowing down the tempo for increased difficulty.
Goal: Build foundational strength and proper push-up form.
| Day 1 | Day 2 | Day 3 | Day 4 | Day 5 | Day 6 | Day 7 |
|---|---|---|---|---|---|---|
| Back | Shoulders | Rest | Back | Shoulders | Triceps | Rest |
| Chest | Chest |
| Day 1 | Day 2 | Day 3 | Day 4 | Day 5 | Day 6 | Day 7 |
|---|---|---|---|---|---|---|
| B | S | R | B | S | T | R |
| C | C |
Mobile Guide:
B = Back,
S = Shoulders,
T = Triceps,
R = Rest,
C = Chest
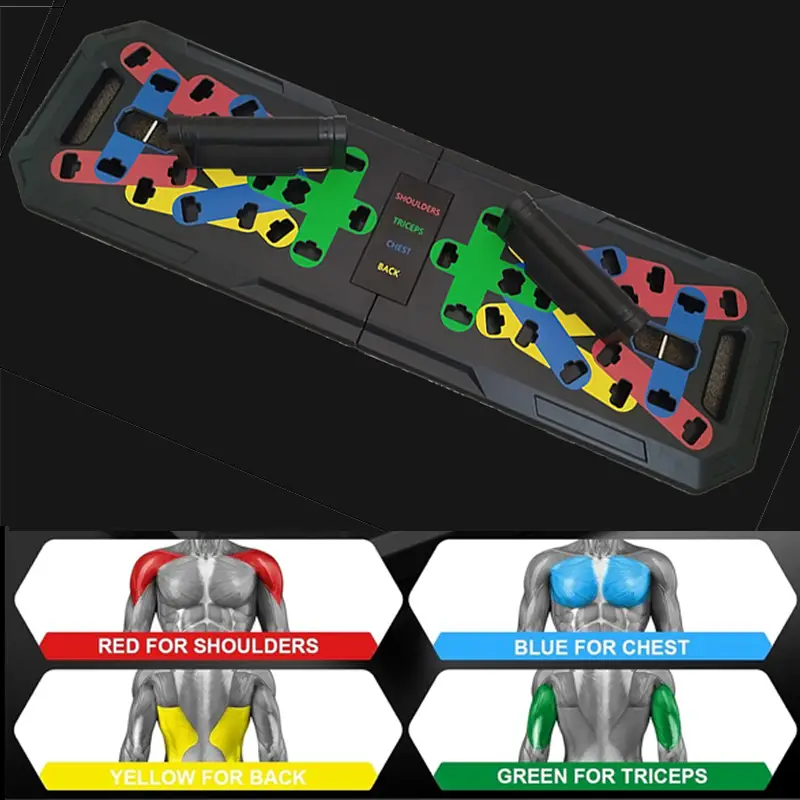
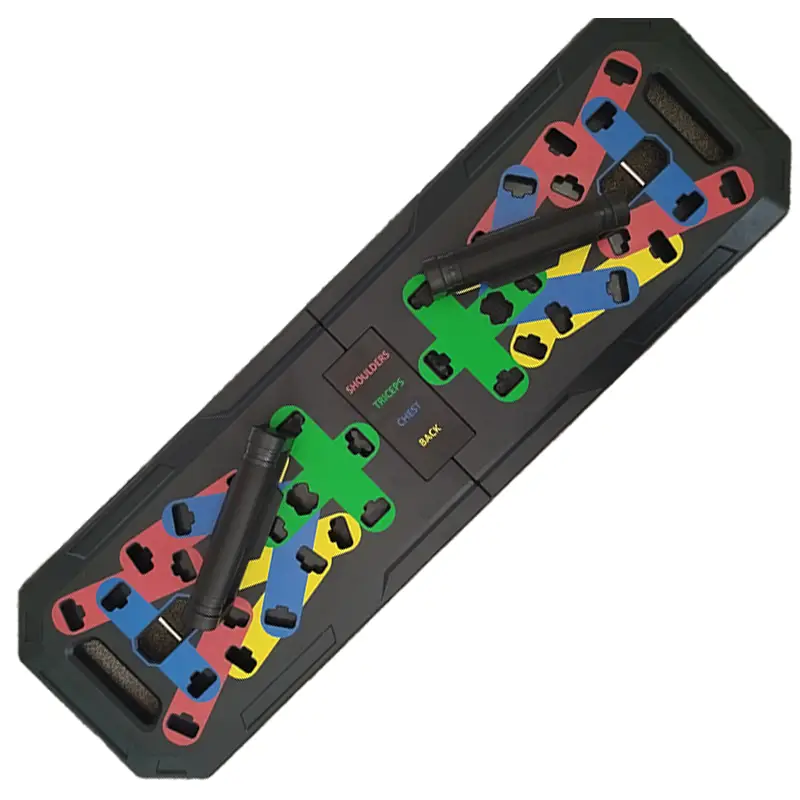
Begin with the yellow position on the board, which targets your upper back. Perform slow and controlled push-ups, keeping your elbows close to your sides. Focus on engaging your back muscles as you push up and down. Avoid rushing the movement; proper form is more important than speed.
Start with the red position to activate your shoulders. Ensure your hands are firmly placed in the designated slots and your elbows are slightly flared out. Perform push-ups with a steady pace, focusing on shoulder engagement. After completing your shoulder push-ups, switch to the blue position for chest activation. Keep your hands wider than shoulder-width apart and lower yourself until your chest nearly touches the floor.
Take this day to rest and allow your muscles to recover. Perform light stretching for your shoulders, back, and chest to maintain flexibility.
Repeat the yellow position for back push-ups and the blue position for chest push-ups. Alternate between these two positions, completing one set of each before moving to the next set. This will ensure a balanced workout that strengthens both muscle groups.
Use the red position for shoulder push-ups. Again ensure your hands are firmly placed in the designated slots and your elbows are slightly flared out. Perform push-ups with a steady pace, focusing on shoulder engagement. Focus on maintaining a stable body line and avoid letting your hips drop.
Focus solely on the green position. Narrow push-ups are excellent for building arm strength. If you find these too challenging, you can start on your knees to maintain good form while building strength.
Take a full rest day. If you feel tightness or soreness, perform light mobility exercises such as arm circles or shoulder stretches.
Goal: Increase intensity and endurance with higher volume.
| Day 1 | Day 2 | Day 3 | Day 4 | Day 5 | Day 6 | Day 7 |
|---|---|---|---|---|---|---|
| Triceps | Chest | Shoulders | Rest | Shoulders | Back | Rest |
| Chest | Back | Triceps | Chest |
| Day 1 | Day 2 | Day 3 | Day 4 | Day 5 | Day 6 | Day 7 |
|---|---|---|---|---|---|---|
| T | C | S | R | S | B | R |
| C | B | T | C |
Begin with the green position for narrow triceps push-ups. Perform controlled repetitions, focusing on the back of your arms. After completing your triceps sets, switch to the blue position for wide chest push-ups. Keep a steady rhythm and avoid locking your elbows at the top.
Using the blue positions for chest push-ups. Lower yourself slowly to increase time under tension, which helps build strength.
Start with the red slots for shoulder push-ups. Keep your body stable and engage your core as you perform controlled push-ups. For an extra challenge, add a slow negative phase by lowering yourself over three seconds and pushing up quickly. This technique helps build shoulder strength and control.
After completing your shoulder sets, switch to the yellow slots for back push-ups. Focus on squeezing your shoulder blades together as you push up to effectively engage the upper back muscles. Maintain a steady tempo to maximise muscle activation and avoid rushing through the movement.
Take this day to rest and allow your muscles to recover. Rest days are essential for muscle repair and growth. Use this time to perform light mobility exercises, such as shoulder rolls or gentle stretches, to maintain flexibility and reduce any stiffness. Focus on hydration and proper nutrition to prepare your body for the next workout sessions.
Start with the red position for shoulder push-ups. Keep your body stable and engage your core as you perform controlled movements. Focus on keeping your elbows slightly flared out to maximise shoulder engagement while avoiding joint strain.
After completing your shoulder sets, transition to the green position for triceps push-ups. Perform narrow push-ups, keeping your elbows close to your body and lowering yourself slowly to fully isolate and activate your triceps. Maintain a steady rhythm to build strength and endurance in both muscle groups.
Start with the yellow position for back push-ups. Focus on pulling your shoulder blades together as you push up to fully engage your upper back muscles. Keep your movements slow and controlled to maximise activation and prevent strain.
After completing your back sets, transition to the blue position for chest push-ups. Use a wide grip to target your chest muscles effectively. Lower yourself until your chest is just above the board, then push up with controlled movements. This combination ensures balanced upper-body strength by targeting both the back and chest.
Take this day to fully recover. Incorporate foam rolling or gentle yoga if needed.
Goal: Maximise strength, power, and endurance through explosive movements.
| Day 1 | Day 2 | Day 3 | Day 4 | Day 5 | Day 6 | Day 7 |
|---|---|---|---|---|---|---|
| Triceps | Shoulders | Rest | Shoulders | Back | Shoulders | Rest |
| Triceps | Chest | Chest |
| Day 1 | Day 2 | Day 3 | Day 4 | Day 5 | Day 6 | Day 7 |
|---|---|---|---|---|---|---|
| T | S | R | S | B | S | R |
| T | C | C |
Use the green position for triceps push-ups. Focus on explosive power by performing clap push-ups or fast push-ups. Ensure you land softly to avoid straining your wrists.
Position your hands in the red position on the board for shoulder push-ups. Focus on keeping your elbows slightly flared out and maintaining a steady tempo throughout the movement. Engage your core to stabilise your body and prevent your hips from sagging.
For an added challenge, incorporate a slow negative phase by lowering yourself over three seconds and pushing up quickly. This increases time under tension, helping to build shoulder strength and control. If you’re more advanced, you can add resistance bands to intensify the workout.
Use this day for light cardio or stretching exercises. Prioritise recovery to prevent burnout.
Start with the red position on the board for shoulder push-ups. Focus on keeping your body stable and your core engaged as you perform controlled movements. Keep your elbows slightly flared out to target the shoulder muscles effectively and avoid joint strain.
After completing your shoulder sets, transition to the green position for triceps push-ups. Use a narrow hand placement to isolate your triceps. Lower yourself slowly and push back up in a controlled manner to maximise engagement. This combination ensures balanced training for your shoulders and triceps, building strength and endurance in both areas.
Start with the yellow position on the board for back push-ups. Focus on squeezing your shoulder blades together as you push up to effectively engage your upper back muscles. Keep your movements slow and controlled, ensuring proper form to prevent strain.
After completing your back sets, transition to the blue position for chest push-ups. Use a wide hand placement to maximise chest activation. Lower yourself until your chest is just above the board, then push up steadily. This combination provides a balanced workout, strengthening both your back and chest for improved upper-body stability and power.
Start with the red position on the board for shoulder push-ups. Ensure your elbows are slightly flared out and your movements are controlled. Engage your core and stabilise your body to avoid any unnecessary strain on your shoulders. Focus on maintaining a steady rhythm to build shoulder strength and endurance.
After completing your shoulder sets, transition to the blue position for chest push-ups. Use a wide grip to target your chest muscles effectively. Lower yourself until your chest is just above the board, then push up in a controlled motion. This combination enhances both shoulder stability and chest strength, ensuring balanced upper-body development.
Take this day to recover. Incorporate stretches for your chest, shoulders, triceps, and back to stay flexible.
The Push-Up Board Training Guide is a structured program designed to help you build strength, endurance, and explosive power through targeted push-ups. By using the board's colour-coded positions, you can effectively isolate specific muscle groups, ensuring balanced development and progress. Whether you're a beginner focusing on foundational strength or an advanced athlete looking to maximise power, this program caters to all fitness levels. Stay consistent, follow proper form, and gradually increase intensity to achieve your fitness goals. Remember, your dedication to the process is the key to success.
All major credit cards are accepted via the Stripe payment gateway and by using Google Pay. We also accept Afterpay and you can pay by direct bank transfer. Prices shown are in NZ dollars and will be invoiced in the same currency. Payment is safe and secure when shopping online with Alternative Brands New Zealand with no hidden costs.
Please note that when paying by direct bank transfer things can take a little longer as we wait for payment to clear. If you are in a hurry we suggest paying by credit card or Afterpay as these are instant and will result in no shipping delay.

Shipping rates to your region are shown on the specific product page. These rates range from as low as $6.50 and as high as $25.00. If products are shipped from the same warehouse then the shipping rate will be the higher of those shown on the selected product pages.
Orders are delivered from locally based warehouses and delivered within 3 business days on average. Please note shipping times are averages and can not be guaranteed. Please contact us for recent delivery times to your region if required.
The total shipping cost will be shown during the checkout process before committing to the order.


Postal Address: Unit 2 25 Headcorn Place, Botany Downs, Auckland 2010, New Zealand
Contact Phone: +64272611950
NZBN: 9429051545697
Copyright © 2025 Alternative Brands New Zealand